
Content:
As is common with Nintendo rechargeable consoles, the DS Lite uses a proprietary charging port.
As it happens, the pinout of this port is the same as a standard Mini USB port – the same port that is used on the Dualshock 3 controller, for example. As a standard port, it would enable the use of a wider range of chargers. The port is also around the same size, making it an ideal replacement.
Here’s how to swap the original port, for a Mini USB one.
Opening the Console
Before going any further, make sure you have a tri-wing #0 screwdriver – this will be needed to remove some of the screws holding the shell together.

Start by removing the stylus, the GBA slot cover, the battery cover, and the two pads covering the screws between the shoulder buttons.
With the battery cover open, remove the battery – there is a small tab on the right-hand side to ease removal.

Next, remove all of the screws. The two that sit underneath the battery, and the two that were under the pads, are phillips. The rest all require the Y bit.
With the screws removed, the shell should start to come apart by the cartridge slot. Gently slide a screwdriver (or another tool) along the gap between the bottom of the console, and faceplate.
When this is removed, there is one more screw to remove before the board is released from the shell. Take care with the shoulder buttons as there is a small spring you don’t want to lose.
When lifting the board, aim to flip it over towards the hinge.

This is important, due to the connectors still attached to the board.
Pry up the flaps holding the screen connectors in place, and slide them out. Also remove the wifi antenna connectors.

With the board completely removed, we can start the process of replacing the port.
Swapping the Port
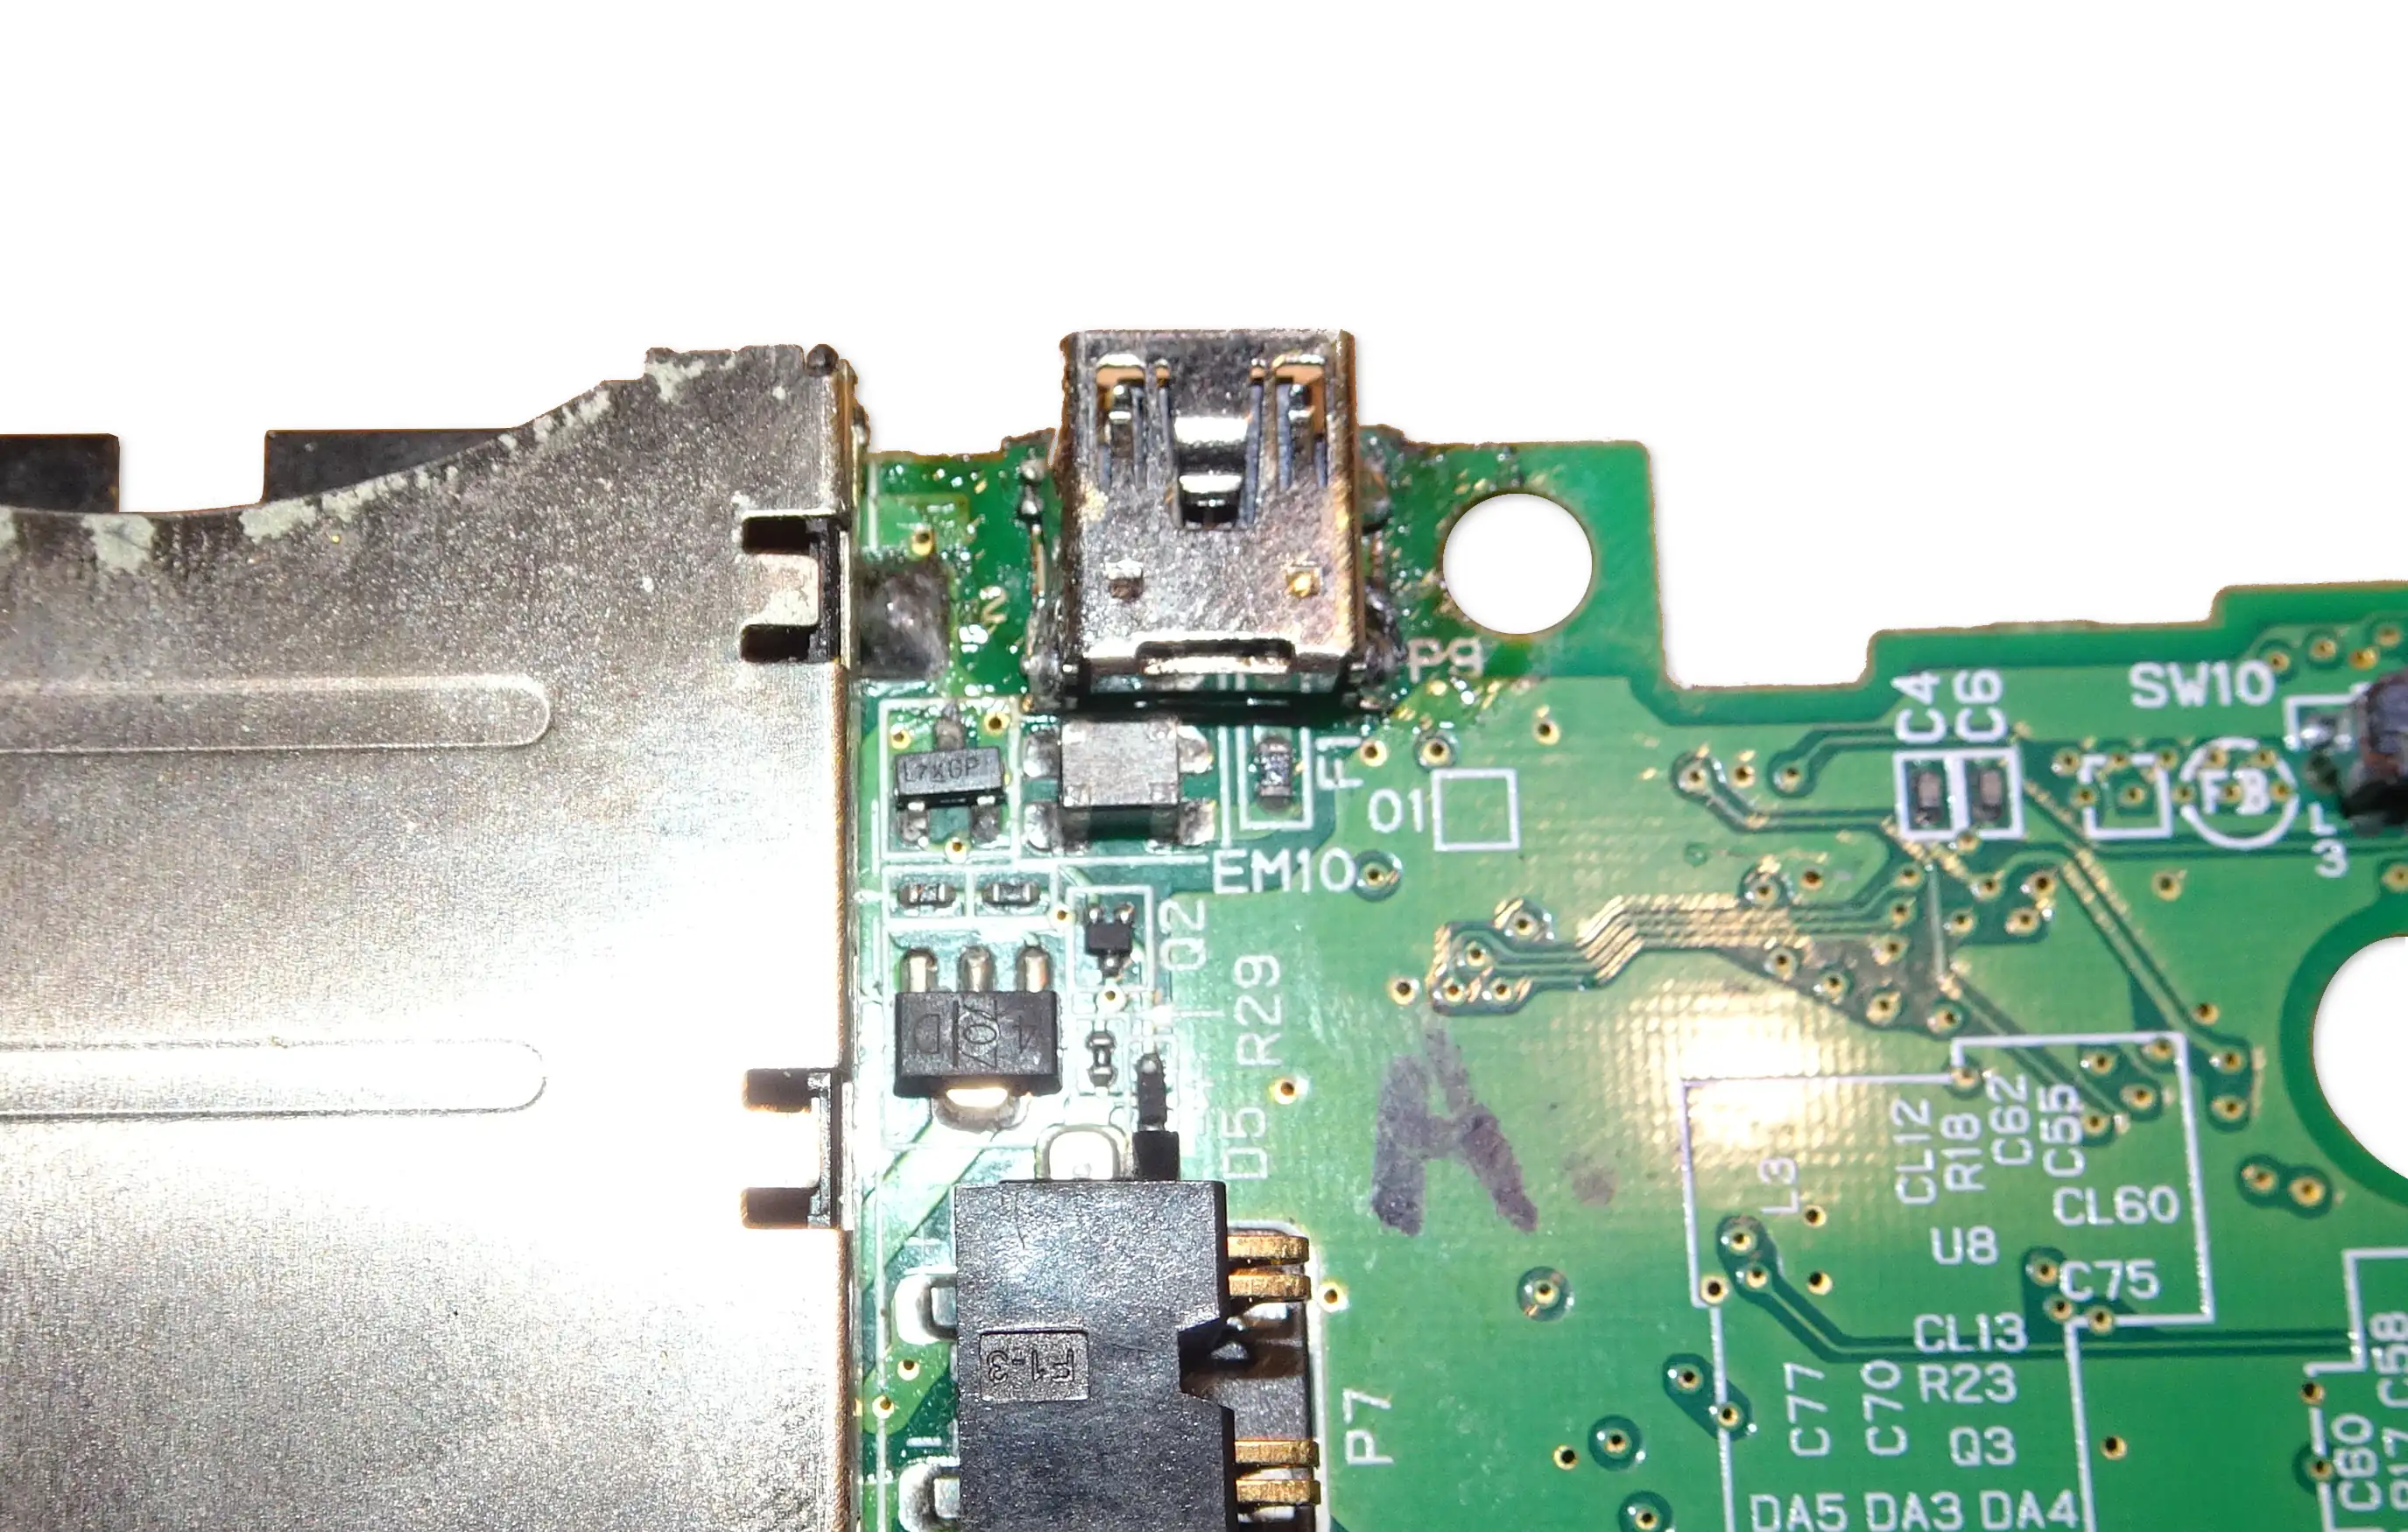
In my case, the console I am performing this modification on already has the charging port removed. It came to me in a lot of faulty consoles, so I assume the original port was broken.
If you need to remove the original port, you can either attempt to desolder it, or use a set of pliers to carefully cut the port off the board.

It doesn’t look the cleanest, but the solder points appear to be intact. I’ll be using a solder sucker to clean out the holes.
The socket I’ll be installing is a Mini USB AB surface mount socket – the footprint will not line up exactly, which is why I’ve gone for surface mount. A similar connector can be found here. There are actually two variants of Mini USB – one with more rounded edges (like the one on the Dualshock 3), which is the more common connector. The other has straight edges. The AB connector is compatible with both.
Before installing, I trimmed off the data pins, leaving just the power and ground pins – this is because there are no vias for the other pins to slot through. The pins will also need to be bent to point downwards, towards the board.
It should be easy enough to solder the new port in place, just be sure to get plenty of heat into the ground points to securely mount the socket.

I recommend adding solder to the top two ground pins, as above, to make the connection more secure. The bottom two have been left clear of solder, as these vias do not line up fully with the socket.
After a bit of clean up, it’s time to test.
The most difficult part is getting the DS back together. If the screens are not plugged in securely, the DS will switch off straight after it is turned on – if this happens to you, check the screen cables are fitted correctly. They can be quite tricky to push in fully.

The Mini USB port is similar in size and shape to the original port, so it fits nicely into the case without any modification.
Conclusion
Now, Mini USB itself is obsolete, though it is at least a standard port. You may be wondering, could this be done with Micro USB instead?
In theory, yes. In theory, you could use anything that has 2 pins, provided they are connected to the right points on the board (If you really want a DS Lite using HDMI to charge, be my guest).
But in reality, the different footprint and pin width between Mini and Micro USB make that install much more tricky. So for now, this is the easiest and cleanest solution to get a standard port.


